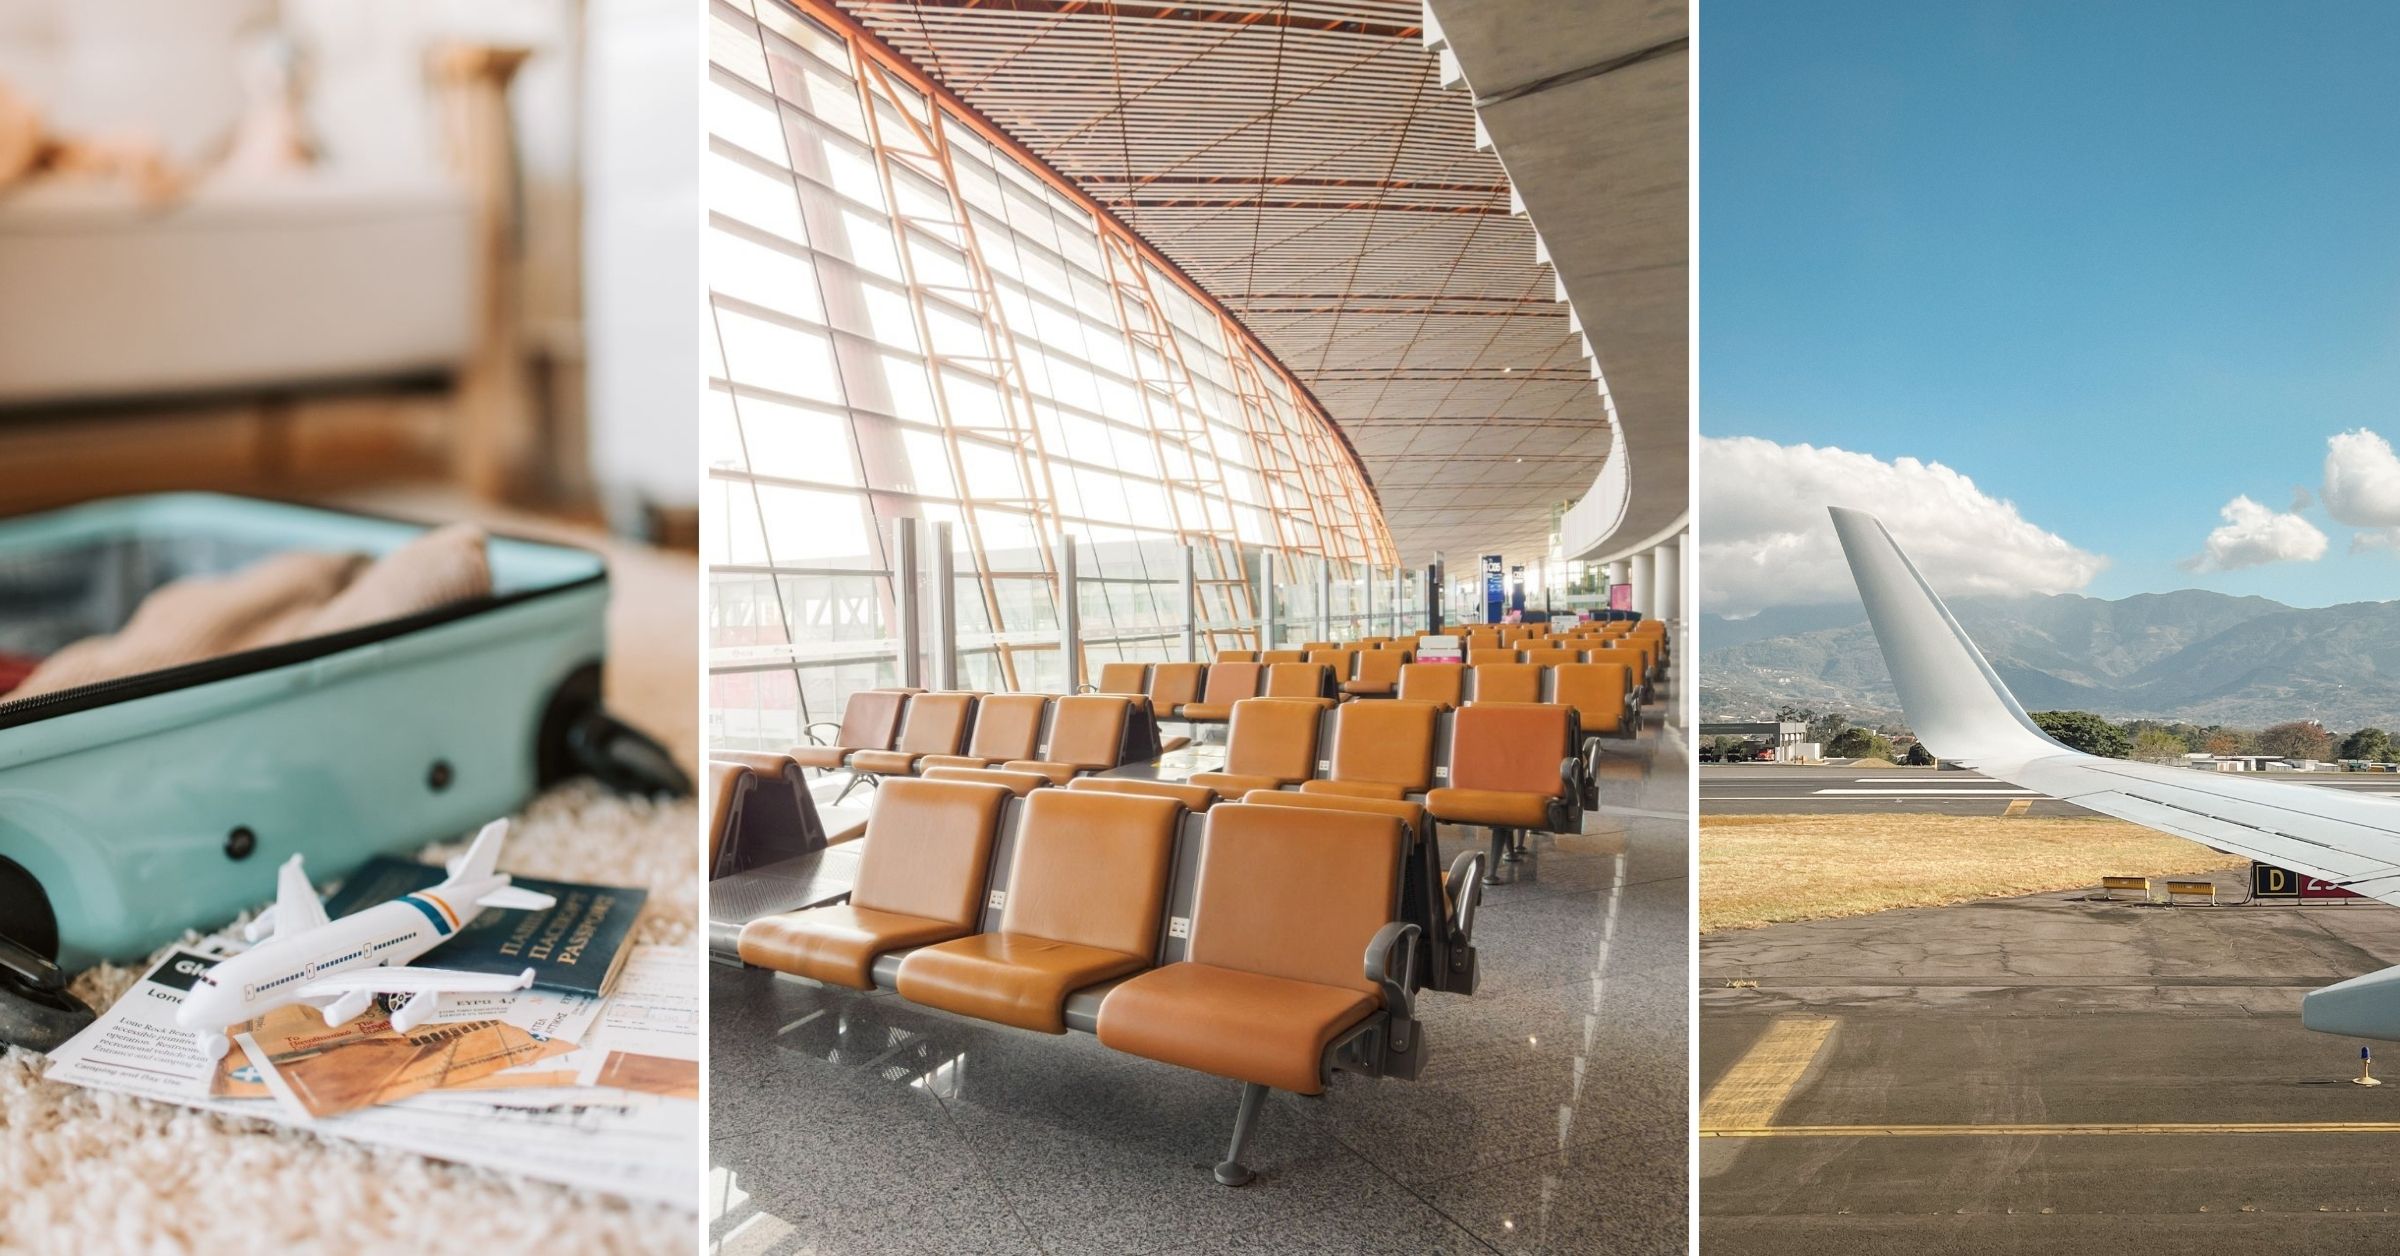
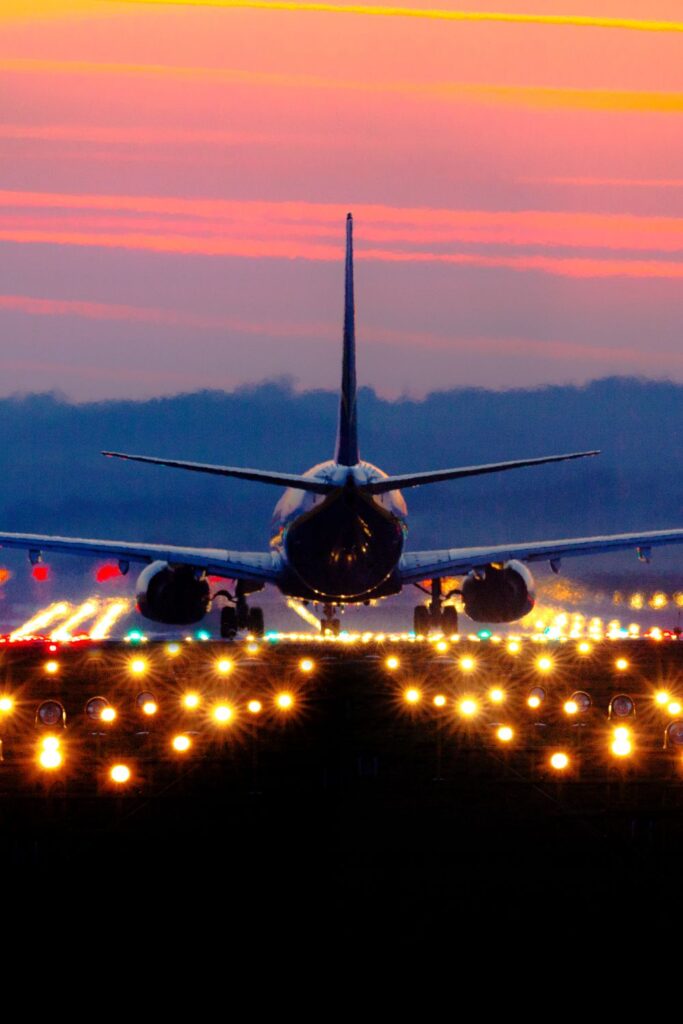
Traveling can be an exhilarating experience, but we all know that it often begins and ends at the airport. Whether you’re headed for a relaxing vacation or an important business trip, the airport plays a pivotal role in shaping your journey. The truth is, the smoother your time at the airport, the better your overall travel experience will be. From long lines at check-in to cramped gate seating, knowing exactly what to do at the airport can make all the difference.
I’ve been on too many flights to count over the years, and that’s why I’m sharing my round-up of essential airport tips and travel tips that you can use as a guide to streamline your next trip! Whether you’re flying on domestic flights or embarking on an international flight, these tips and tricks will help you avoid stress and ensure your time at the airport is as smooth as possible.
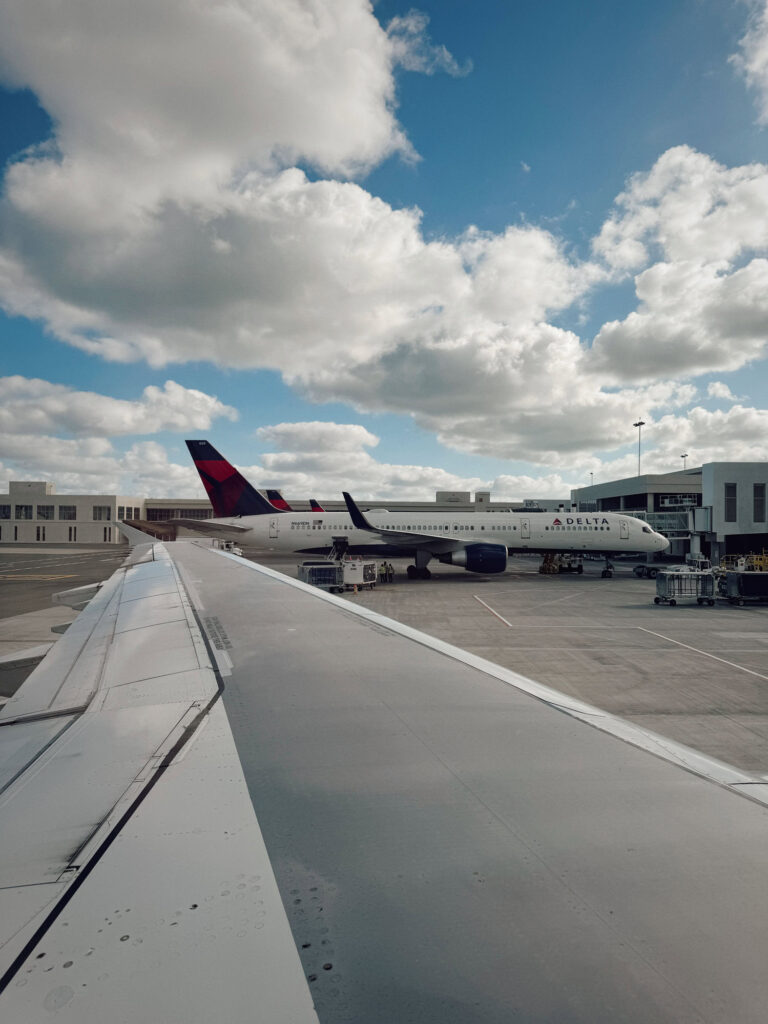
Airport Tips
It’s no secret that airports can be overwhelming. But with some smart planning and a few insider tips, you can move through the airport like a seasoned traveler. Now let’s get into the tips to help you prepare for the airport experience.
How Early Should You Get to the Airport
When it comes to domestic flights, the general rule of thumb is to arrive at the airport about 2 hours before your scheduled departure. For international flights, you should plan to be there at least 3 hours before boarding time. This may seem like a lot of time, but trust me, it will give you a buffer to account for unforeseen delays like long lines at check-in or the security checkpoint.
Tips for Early Arrival:
Domestic Flights
For shorter flights, 2 hours should be more than enough. But if you’re flying out of a large airport or during peak travel times, consider arriving 15-30 minutes earlier just to be safe.
International Flights
For these, 3 hours gives you ample time to go through passport control, and security, and perhaps even grab a bite to eat before boarding. Keep in mind that international flights require additional documentation checks, so plan accordingly.
Remember, if you’re traveling with checked baggage, make sure you factor in extra time for that process. If you’re unsure how much time to allocate, check with your airline’s guidelines or use their airline or airport apps for real-time updates.
Pro tip: Save time at security with TSA PreCheck. If you’ve been to an airport, you have most likely noticed the separate line at security for passengers with TSA PreCheck. This is a trusted traveler program that allows eligible passengers to enjoy expedited security screening at U.S. airports. With TSA PreCheck, you can breeze through security without removing your shoes, belts, or light jackets, and you can leave your laptop and compliant liquids in your bag. This makes for a faster and more relaxed airport experience, especially during busy travel times.
How to get TSA PreCheck
To obtain TSA PreCheck, you’ll need to apply online, undergo a background check, and complete an in-person interview at an enrollment center. For frequent travelers, it’s a worthwhile investment in saving time and reducing airport stress!


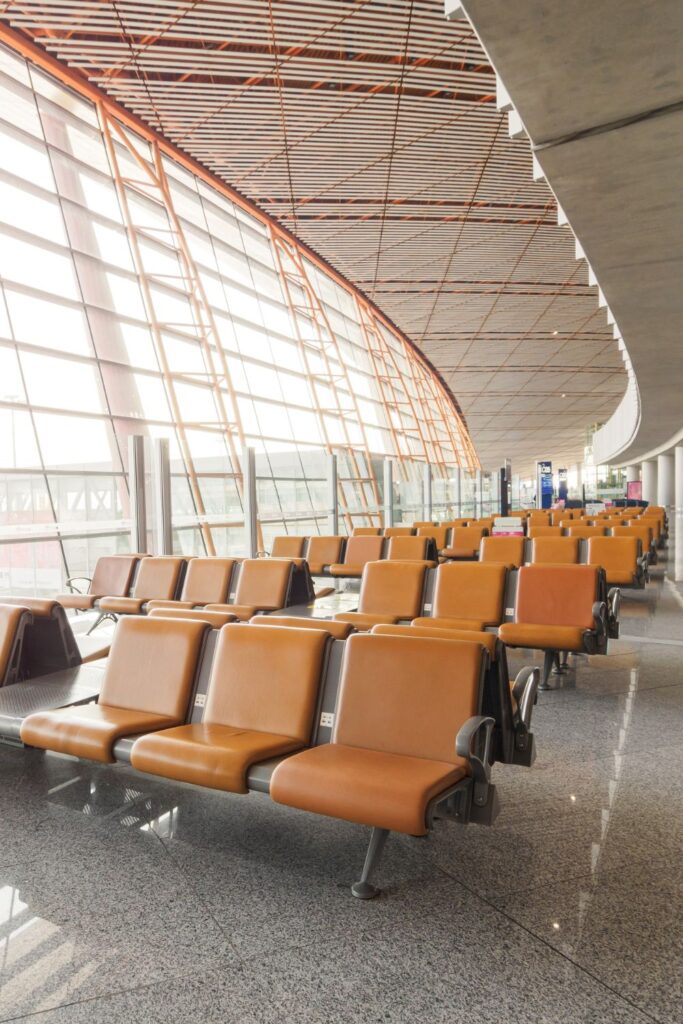
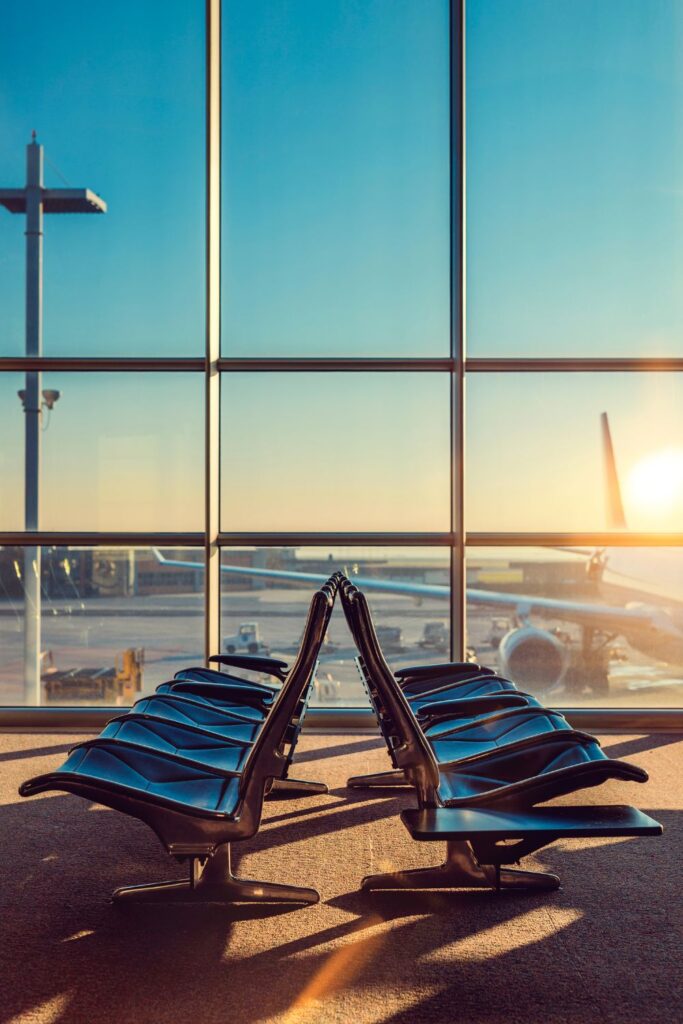
What to Do When You Get to the Airport
Check-In
Once you arrive at the airport, head to the check-in counter or kiosk to confirm your flight details, choose your seat (if needed), and receive your boarding pass. If you have checked luggage, this is where you’ll drop it off.
Check Luggage
After checking in, proceed to the baggage drop-off area to check in your luggage. Be sure to follow the airline’s guidelines on weight limits and bag size to avoid extra fees.
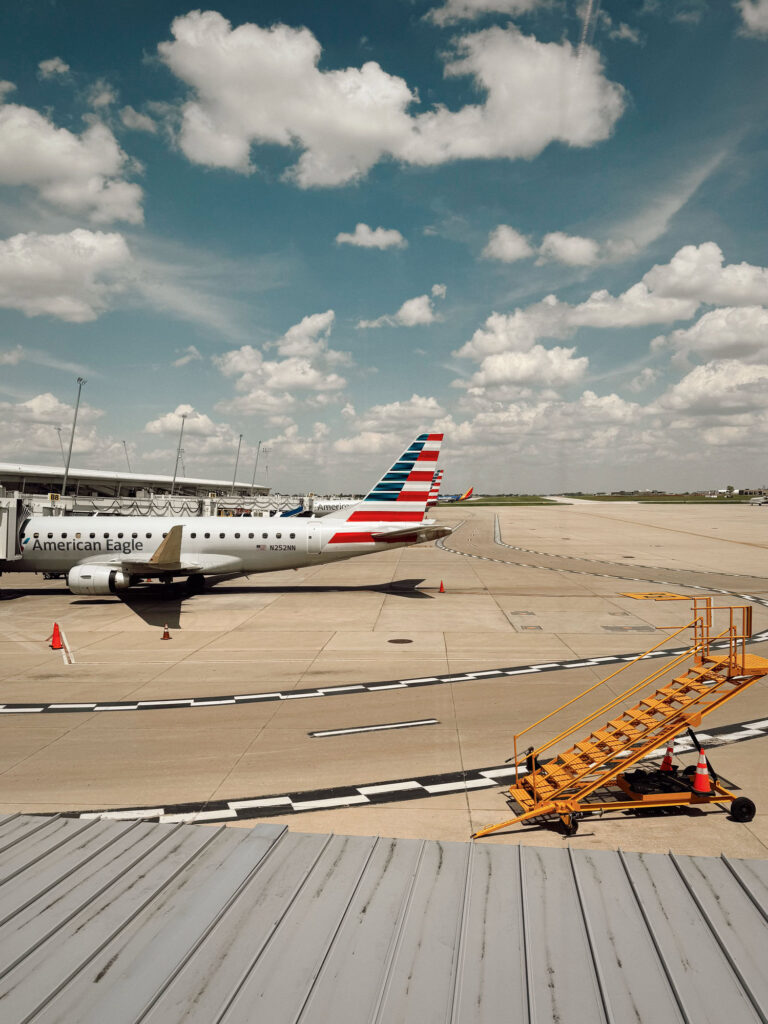
Go Through Security
After checking your bags, head to security. Have your boarding pass and ID ready for inspection. You’ll need to remove items like shoes, belts, and electronics, so be prepared for the screening process. Once through, grab your belongings and head to your gate.
Review Your Flight Information
Now that you’ve cleared security, double-check your flight details. Look for your gate number, boarding time, and any updates on your flight status. Things can change, so it’s always a good idea to stay up to date. I always make a habit of confirming everything just in case, better safe than sorry!
Charge Your Devices
Take a moment to charge your phone, tablet, or other electronics if needed. Most airports offer charging stations or power outlets in waiting areas.
Grab a Bite
If you’ve got a little time before your flight, it’s the perfect opportunity to grab a snack or a full meal. Many airports offer a wide variety of food options, from quick bites to more sit-down dining experiences. Use the airport map to find the best places to eat. I usually try to find something healthy to fuel me up before the flight!
Shop
If you enjoy shopping, check out the airport’s retail offerings. From duty-free stores to luxury boutiques, you can pick up souvenirs or any last-minute travel essentials like neck pillows or a book to read.
Explore the Airport
If you’ve got some extra time, take the opportunity to explore the airport. Some airports feature art exhibits, observation decks, or even mini-museums, which can be a fun and interesting way to kill time. I’ve discovered some cool things just by wandering around, especially in airports with unique offerings.
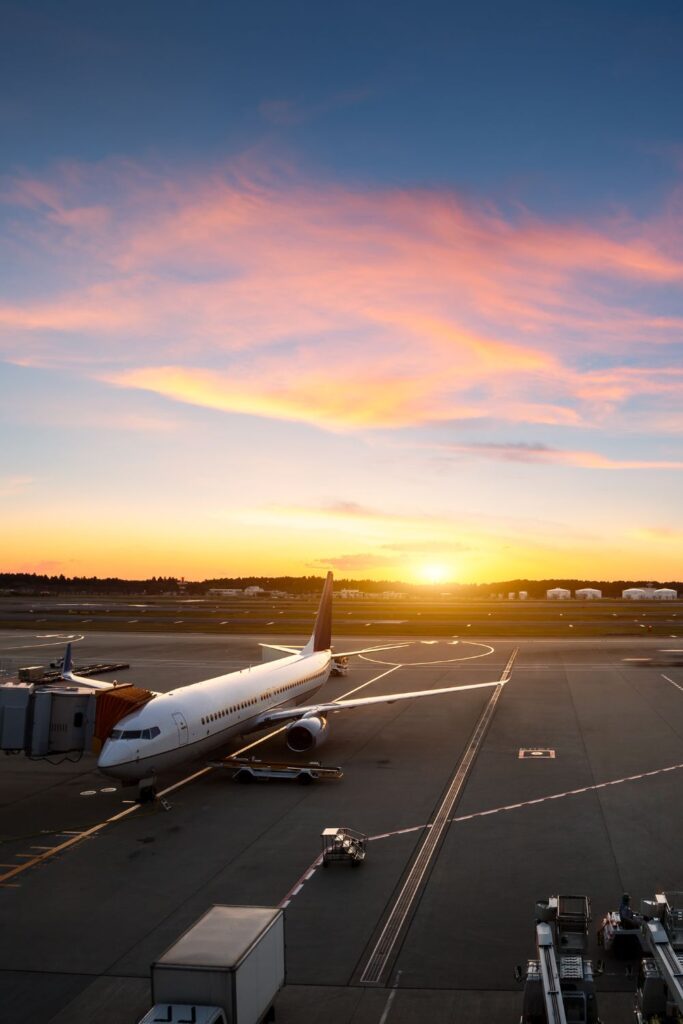

Photos courtesy of Canva Stock
How to Check In at the Airport
Checking in at the airport can feel like a hassle, especially if you’re dealing with long lines or stressed-out fellow passengers. Luckily, there are ways to make this process faster and more efficient.
Steps for Efficient Check-In:
Check-In Online
Whenever possible, check in online before arriving at the airport. Most airlines allow online check-in through the airline apps 24 hours before departure. This will save you time at the counter, and you’ll have your boarding passes ready to go. Many airlines also offer mobile boarding passes through the airline apps, which means you won’t need to print anything.
Use Self-Service Kiosks
If you need to check in at the airport, look for self-service kiosks. These machines let you check in, print boarding passes, and sometimes even print your baggage tags for checked bags. If you don’t have any checked baggage, these kiosks are often the quickest way to get through check-in.
Get Help from Airline Staff
If you encounter any issues with your check-in process, don’t hesitate to approach an airline representative for assistance.
Pro Tip: If you have a carry-on bag and you’re not checking anything, head straight to the security checkpoint instead of the check-in counter if you already checked in online or through the airline apps. If you’re flying internationally, ensure that your passport is easily accessible, as you’ll need it to board your flight.

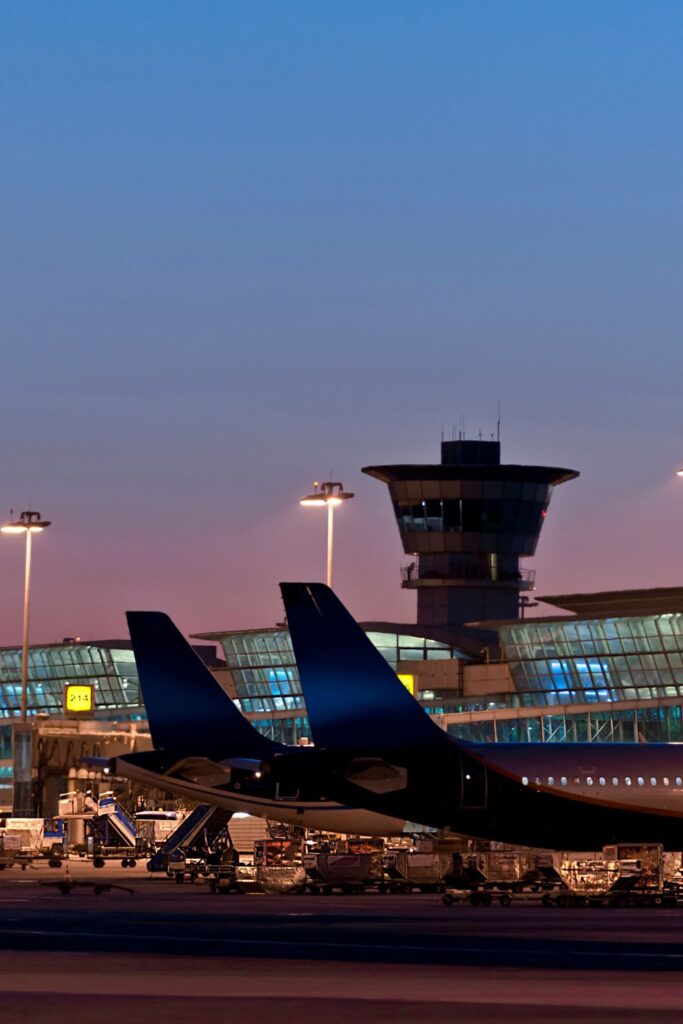
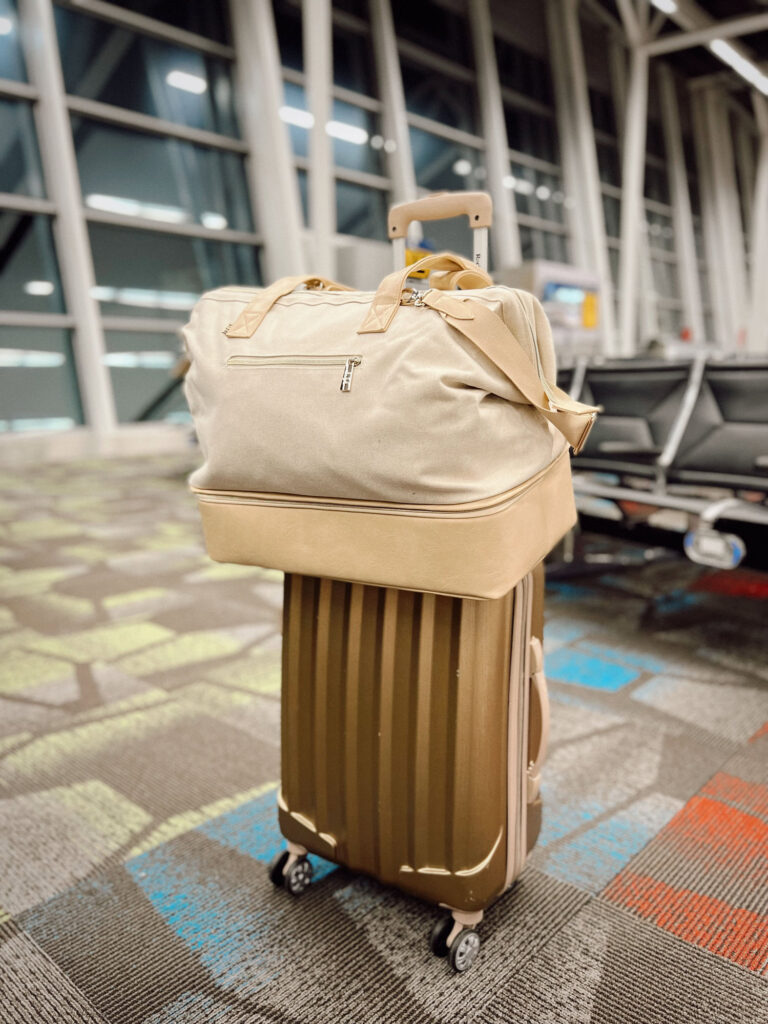
Checked Bags vs. Carry-Ons: What You Need to Know
When deciding between a checked bag and a carry on bag, it’s all about convenience and packing needs.
Carry-on Bag
Carry-ons are smaller bags that fit in the overhead bin, allowing you to keep your essentials close and avoid waiting at baggage claim. They’re perfect for short trips or if you prefer to travel light. However, carry-ons come with size restrictions, and if you’re traveling with more than just the basics, it can be limiting.
Checked Baggage
Checked bags, on the other hand, offer more space and can hold larger or bulkier items. While you won’t have immediate access to your belongings during the flight, they’re ideal for longer trips or if you need to bring more gear (like sports equipment or extra shoes). The downside is the extra time spent at check-in and baggage claim, plus potential baggage fees.
Ultimately, the choice depends on your travel plans and how much you need to pack. Many travelers opt for a mix of both: a carry-on for the essentials and a checked bag for larger items.

Photos courtesy of Canva Stock
What to Bring to the Airport
Packing the right things for your airport journey can make your time there much more enjoyable.
Must-Have Items for the Airport:
Travel Essentials
Don’t forget your boarding passes, ID, and any other important documents like your passport for international flights when travel planning.
Water Bottle
It’s always a good idea to carry a water bottle with you (just be sure it’s empty when you go through security). I typically bring a reusable water bottle to avoid having to purchase once I get through security. You can then refill it after the security checkpoint and stay hydrated throughout your trip.
Snacks
Pack light snacks for the journey, especially for long layovers or just purchase them if you have time after security.
Portable Charger
If you’ll be spending hours at the airport, a portable charger for cell phones will ensure you stay connected. This is a must-have for any long wait.
Travel Comfort Items
Bring a neck pillow, blanket, or anything that will help you relax during your wait. These will come in handy if you’re trying to sleep or just unwind.
Photos courtesy of Canva Stock
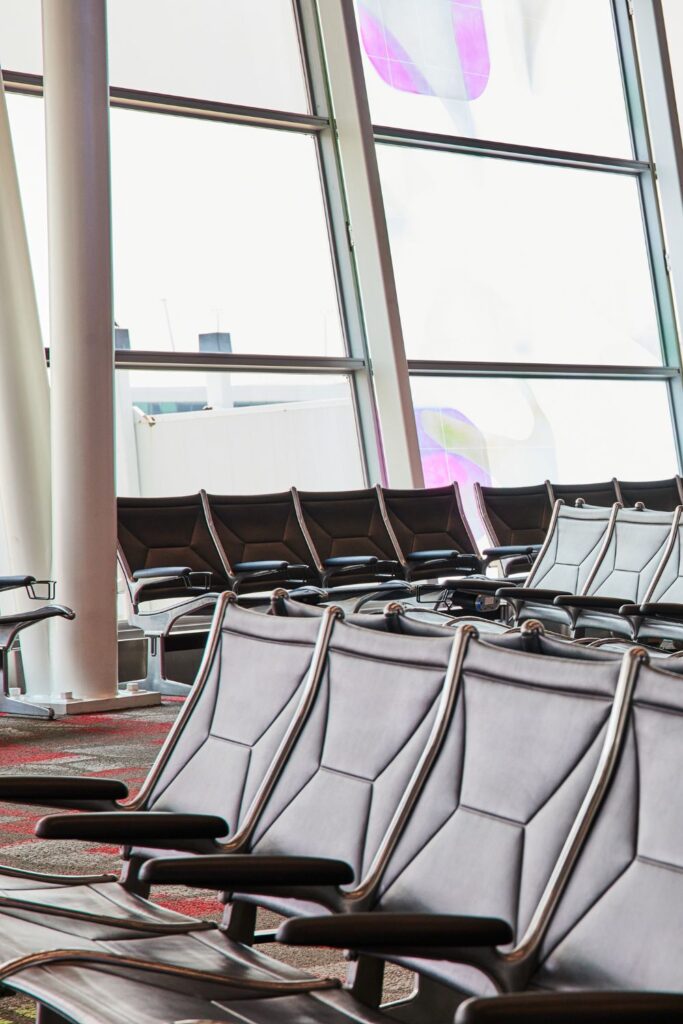
How to Get Access to Airport Lounges
Airport lounges are a great place to relax before your flight. They’re quieter and more comfortable than the main terminals and often come with complimentary snacks and drinks. But how do you get access?
There are several ways to access these lounges, even if you don’t have a first-class ticket. Here’s how:
Options for Accessing Airport Lounges:
Credit Card Access
Many premium credit cards offer complimentary access to airport lounges, such as the American Express Platinum card or Chase Sapphire Reserve, which grants access to various lounges worldwide.
Airline Loyalty Programs
Frequent flyers can earn access to lounges by reaching high-tier status in an airline’s loyalty program.
Buy a Day Pass
Some lounges allow non-members to purchase a day pass, which is usually around $50, depending on the location.
Membership Programs
Consider purchasing a lounge membership if you fly regularly. These programs grant access to a network of lounges across various airports globally.
Once inside, you can enjoy free Wi-Fi, snacks, and a comfortable place to rest before your flight.
How to Sleep in the Airport
Whether your flight has been delayed or you’re facing a long layover, sometimes you’ll find yourself in need of a nap at the airport. Sleeping in airports can be tricky, but there are strategies to make it more comfortable.
Tips for Sleeping in the Airport
Find a Quiet Spot
Look for quieter terminals or areas that aren’t as crowded, especially in larger airports. Often, the farther you get from the main gate or busy restaurant areas, the quieter it will be.
Use a Travel Pillow and Blanket
A good travel pillow can make a world of difference when it comes to napping. Bring a lightweight blanket or a large scarf to stay warm.
Earplugs and Eye Masks
If noise and light are an issue, earplugs and an eye mask will be your best friends. They help block out the noise of chatter, announcements, and other distractions.
Keep Your Stuff Safe
When sleeping in an airport, keep your personal belongings close or in a secure location. Many airports offer designated sleep pods or lounges where you can rest with your luggage safely stored.
Pro Tip: If your layover is extended or your flight is delayed, check if your airline offers sleeping areas in lounges or nearby hotels that have day-use rooms.
Whether you’re flying for business or pleasure, the airport experience doesn’t have to feel like a stressful ordeal. In fact, with a little planning and a few key strategies, you can take control of your time at the airport and breeze through the process with ease. I’ve definitely had my share of chaotic moments at airports, but over time, I’ve learned that the key to a smooth experience is preparation.
By following these airport tips, you can stay ahead of the game, ensuring you’re ready for whatever comes your way—whether it’s long lines, delays, or last-minute changes. Simple things like checking your flight status before you arrive or planning ahead for security can save you a lot of frustration. The next time you’re headed to the airport, put these tips into action. Trust me, they’ll make your journey more enjoyable and a lot less stressful, leaving you with more time to relax or focus on what really matters about your trip.
If you are interested in more resources to help you plan your trip, check out my blog, where you’ll find posts like How To Plan a Honeymoon. For even more inspo, be sure to follow me on Instagram at @sierrainthecity!
Pin this post for later:


Such a helpful guide! Navigating airports can be so stressful, but these tips make the process so much smoother. I especially love the advice on TSA PreCheck—definitely a game-changer for frequent travelers like me
These are great tips! One of the things I like to do with extra time at the airport is to store my stuff in a locker (in a lounge or other) so that I can easily walk around and explore. It’s much easier to shop without carrying too much carry-on luggage around.
Just following the signs and find your travel company, the most important to say- great tips